Introduction
AdSecurity Tracking Platform comes with an advanced built-in anti-fraud system. Offers can be screened in real time for fraudulent traffic and flagged based on the rules/filters defined on various levels:
- click screening
- conversions screening
- impression screening
- events screening
In order to activate the fraud screening on an offer, there are 2 steps to follow:
- Create a filter group (a set of screening rules)
- Assign the filter group to the selected offer/s
How to Create a Filter Group
First you need to create a group of filters (rules) and then apply it to selected offers:
- Go to Traffic Controls menu
- Select the Fraud Detection
- Click on +New Fraud Filter
- Fill in a Fraud Filter Name
- Set the filters for Clicks, Conversions and/or Impressions
- Click Create Filter Group button to save the settings
How to Assign a Filter Group to an Offer
Once a Filter Group is created, save and refresh, then follow the options:
Option 1
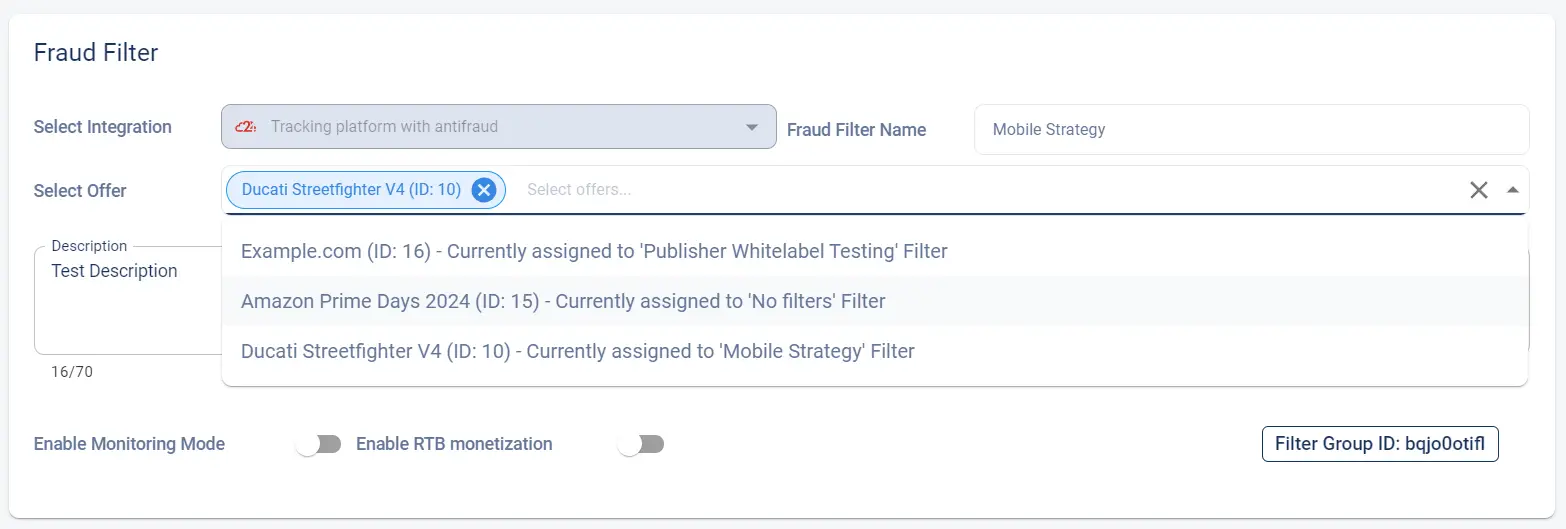
Go to Traffic Controls -> Fraud Detection, select the desired Filter Group and from the Select Offer drop-down menu choose the offer/s. The rules defined in the group will be applied to the selected offers.
Option 2
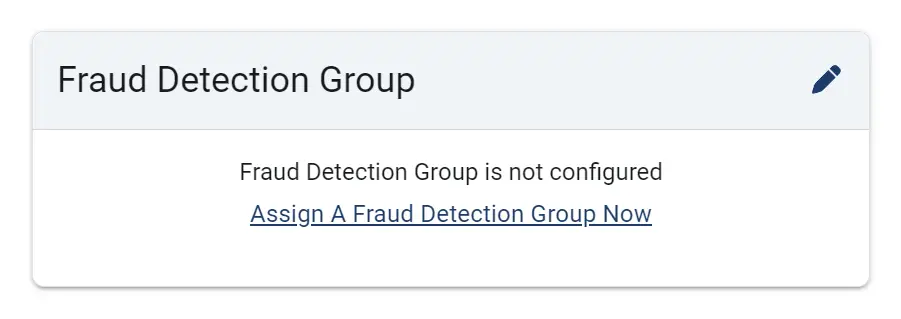
The filter group can be assigned directly to the offer from: Offers Menu –> Select an offer –> Fraud Detection TAB:
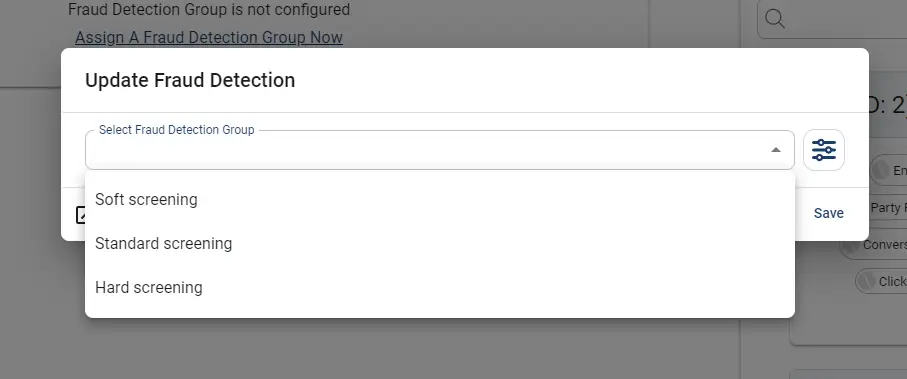
- Go to Fraud Detection TAB –> select Fraud Detection Group
- Select the previously created Filter Group from the dropdown menu
- Click Save
Events Fraud Screening
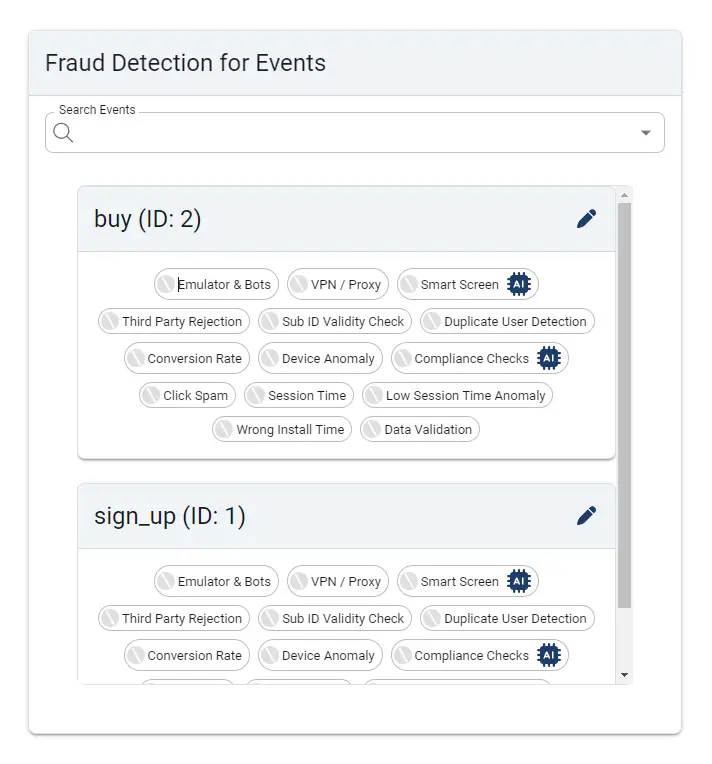
- The fraud filters for Events must be set from offer settings:
- Go to Fraud Detection TAB
- Edit the filters for each available Event
- Activate the filter to be used for each event screening
- Click “Save”
- Repeat the same steps for each event individually


